How to Wax at Home The Beginner’s Guide to Professional Results
Let’s talk about at-home waxing
You’re probably here because you’re tired of dropping $60-90 every month at the salon for a Brazilian. Or maybe you’ve done the math and realized you’re spending over $1,000 a year just keeping your legs smooth. Here’s the thing: at-home waxing isn’t some DIY beauty hack that’ll leave you with patchy results and regret. When you treat it like an actual procedure, not a quick bathroom experiment, you can get salon-quality results for a fraction of the cost. The global hair removal wax market is sitting at around $11.5 billion, and a huge chunk of that growth is coming from people waxing at home. That’s not because everyone suddenly got brave. It’s because the products got better, the information got clearer, and people realized they didn’t need a license to pull this off. But there’s a catch. About 90% of at-home waxing disasters happen because people skip the fundamentals. They overheat the wax, double-dip applicators, or slap wax on retinoid-treated skin. Then they swear off waxing forever and go back to shaving every other day. This guide exists to make sure you’re not one of those people.
Understanding wax types (because this actually matters)
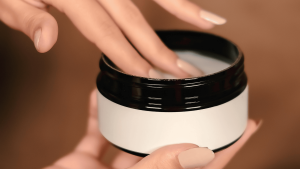
Walk into any beauty supply store and you’ll see dozens of wax options. Most beginners grab whatever’s cheapest or has the prettiest packaging. That’s mistake number one. There are two main types: hard wax and soft wax. The difference isn’t just texture, it’s how they work and where you should use them. Hard wax is your best friend if you’re new to this. It’s applied thick, hardens on your skin, and gets pulled off without strips. The wax grips the hair, not your skin, which means less pain and less chance you’ll accidentally rip off a layer of epidermis. Use this on sensitive areas: face, underarms, bikini line. Anywhere the skin is thin or the hair is coarse. Soft wax needs cloth or paper strips to remove it. It’s thinner, sticks to both hair and skin, and works great on larger areas like legs and arms. The downside? It’s less forgiving. Apply it too thick, pull it wrong, or use it on delicate skin, and you’ll know immediately. If you’re just starting out, hard wax is the move. It’s easier to see where you’ve applied it, easier to control, and way more forgiving when you inevitably mess up your first few tries. The best hard waxes contain natural ingredients like olive oil and jojoba oil, they condition your skin while removing hair. Tress Wellness builds their formulas around this, adding chamomile and azulene to calm irritation before it starts.
The prep work nobody tells you about
Most waxing fails happen before the wax even touches your skin. Your hair needs to be about a quarter-inch long, roughly the length of a grain of rice. Too short and the wax can’t grab it. Too long and you’re increasing pain and the chance of breakage. If you’ve been shaving, wait about three weeks before waxing. Here’s what dermatologists actually stress: stop using retinoids, chemical exfoliants, and anything with benzoyl peroxide on the area you’re planning to wax. The American Academy of Dermatology is very clear about this, retinoids thin your skin. Wax on retinoid-treated skin and you risk tearing. If you’re on prescription tretinoin or Accutane, wait at least a week. With Accutane specifically, wait six months after stopping the medication before you even think about waxing. Skip waxing if you have active eczema, psoriasis, open wounds, or sunburn. Don’t wax over moles or warts. If you’re diabetic or have poor circulation, talk to your doctor first, healing takes longer and infection risk is higher. The day before you wax, gently exfoliate with a washcloth or mild scrub. Not the same day. The day before. This lifts dead skin and helps prevent ingrown hairs later. On waxing day, cleanse the area thoroughly. Remove all lotions, oils, deodorant, makeup. Pat completely dry. Moisture interferes with adhesion, which means patchy results and having to go over the same spot multiple times.
Step-by-step technique that actually works
Get yourself a digital wax warmer with temperature control. Microwaving wax in random containers is how people end up with burns. Heat the wax to the manufacturer’s specs, usually between 130-150°F for hard wax. Before you apply anything to your legs or bikini line, test the temperature on your inner wrist. It should feel warm, not hot. If it stings on your wrist, it’ll burn everywhere else. When the wax hits that honey-like consistency, you’re ready. Here’s the process: Apply a thick, even layer in the direction of hair growth. Leave a slightly thicker edge at one end—this becomes your grip. Don’t go crazy with giant strips. Work in small sections, especially when you’re learning. Let the wax set. It should feel solid but still flexible when you tap it. Not tacky, not rock-hard. This usually takes 10-30 seconds depending on the wax and room temperature. Hold your skin taut with one hand. This is critical. Loose skin equals bruising and ineffective removal. With your other hand, flick up the edge of the wax, then pull fast and low, parallel to your skin, not upward, against the direction of growth. Immediately press your hand firmly on the area for a few seconds. This pressure dampens the sting.
Body-specific adjustments
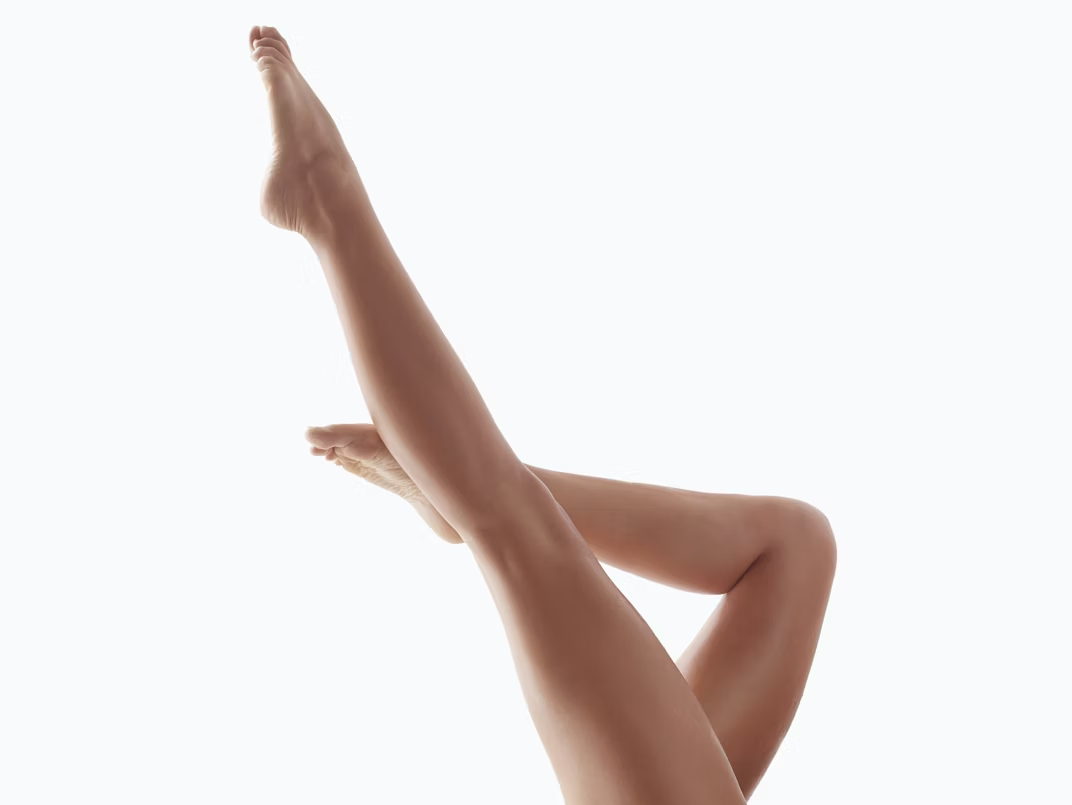
Legs are the easiest place to start. Hair usually grows straight down, but check around your knees and ankles where it sometimes swirls. Work in sections about the size of your palm. Underarms have hair growing in multiple directions. Divide the area into two or three sections based on growth patterns. Keep your arm raised and stretch the skin by placing your hand behind your head. Bikini and Brazilian require hard wax, small sections, and serious skin tension. Hair is coarse, skin is thin. Don’t go over the same spot more than twice. If you’ve got stubborn hairs left, tweeze them. Face demands low-temperature wax and extreme caution. Never wax directly over your eyelid. For upper lip, work from the corner toward the center, following natural hair growth. If you’re using any retinol or prescription retinoids on your face, don’t wax. Period.
Safety protocols that prevent disasters
Burns are the most common at-home waxing injury. They happen when people rush the heating process or skip the wrist test. Always use a temperature-controlled warmer. Stir the wax to distribute heat evenly. Never apply wax straight from the edge of the pot where it’s hottest. Hygiene matters more than you think. Use a fresh applicator every single time you dip into the wax pot. Double-dipping introduces bacteria. Wax might look clean, but it’s a breeding ground once contaminated. Some redness and slight swelling around hair follicles is normal for a few hours. But if you see pustules, spreading redness, increasing pain, or warmth, that’s infection territory. Stop waxing and see a doctor. If you do burn yourself, immediately run cool water over the area for 10-20 minutes. Don’t put butter or oil on it. Cover with a sterile, non-stick dressing if needed. For anything more than a minor burn, get medical attention. Skin tears happen when you pull upward instead of parallel, or when you wax over compromised skin. If you tear your skin, clean it gently with mild cleanser and water, apply petroleum ointment, and monitor for infection.
Post-wax care that actually matters
Right after waxing, apply a cool compress to reduce redness. Use a fragrance-free, alcohol-free soothing product. Look for aloe vera, chamomile, calendula, or colloidal oatmeal. Skip anything with menthol, heavy fragrance, or alcohol, they’ll just irritate freshly waxed skin. For the next 24 hours, avoid hot baths, saunas, steam rooms, and intense workouts that cause friction. Don’t wear tight clothing over waxed areas, especially synthetic fabrics. No swimming in chlorinated pools or hot tubs if your skin is still pink or irritated. After 48-72 hours, start gently exfoliating 1-2 times per week. This prevents ingrown hairs, which are waxing’s most annoying side effect. Use a mild chemical exfoliant like glycolic or lactic acid if your skin tolerates it, or just a soft washcloth. Don’t pick at ingrowns. Use warm compresses and let them surface naturally. Keep the area moisturized with a non-comedogenic lotion. This keeps skin supple and reduces the chance of hairs getting trapped under the surface. You can usually wax again in 3-6 weeks depending on your hair growth cycle. Face areas might need attention every 2-4 weeks. Legs and arms can go 4-6 weeks. Most people find that with consistent waxing, regrowth becomes finer and sparser over time.
Comparing your options
Shaving is cheap and fast, but you’re doing it every 1-3 days. Waxing lasts 2-4 weeks and removes hair from the root. Over a year, at-home waxing usually costs $80-200 versus $900-1,400 for salon visits or the endless cycle of razors and shaving cream. Sugaring uses a sugar-lemon-water paste and is often marketed as gentler, but high-quality hard wax with natural oils performs just as well for most people. The real difference is technique and product quality, not whether you’re using sugar or resin. Laser and IPL offer long-term reduction but cost significantly more upfront and don’t work on all hair colors or skin tones. Waxing works on everyone, regardless of hair color, skin tone, or hair texture. Plus, you can’t wax while doing laser, you need to shave between sessions.
What you actually need
Essential gear: a digital wax warmer with temperature control, professional-grade hard or soft wax, single-use wooden applicators in various sizes, pre-wax cleanser, and post-wax soothing product. If you’re using soft wax, get non-woven strips. Optional but helpful: pre-wax oil or powder, an ingrown hair serum with mild exfoliants, good lighting, a mirror for hard-to-see areas, and tweezers for stragglers. Look for wax warmers with auto-shutoff, overheat protection, and stable bases that won’t tip. They should have clear temperature displays and comply with electrical safety standards. Store wax and strips in a cool, dry place with lids closed. Clean your warmer regularly. Don’t dilute wax with water or random additives.
Final thoughts
At-home waxing isn’t complicated, but it is precise. The difference between great results and a painful mess usually comes down to temperature control, respecting contraindications, and not rushing the technique. Start with easy areas like your legs. Get comfortable with the process. Then move to more sensitive zones once you’ve built confidence and muscle memory. The market keeps growing because this works when done right. Over 34,000 people have left verified reviews on quality at-home waxing kits. Millions of TikTok and YouTube views show real people getting real results. The information is out there, the products are better than ever, and the technique is learnable. You don’t need a license to wax at home safely. You just need to treat it with the same respect you’d give any other skincare procedure, preparation, precision, and patience.