
Dreaming of a backyard cooking zone but not the five-figure price tag? Good news: you can build a functional, great-looking outdoor bbq kitchen for a fraction of the cost with smart planning, a focused materials list, and a few DIY weekends. Here’s a practical, step-by-step guide to get it done without draining your wallet.
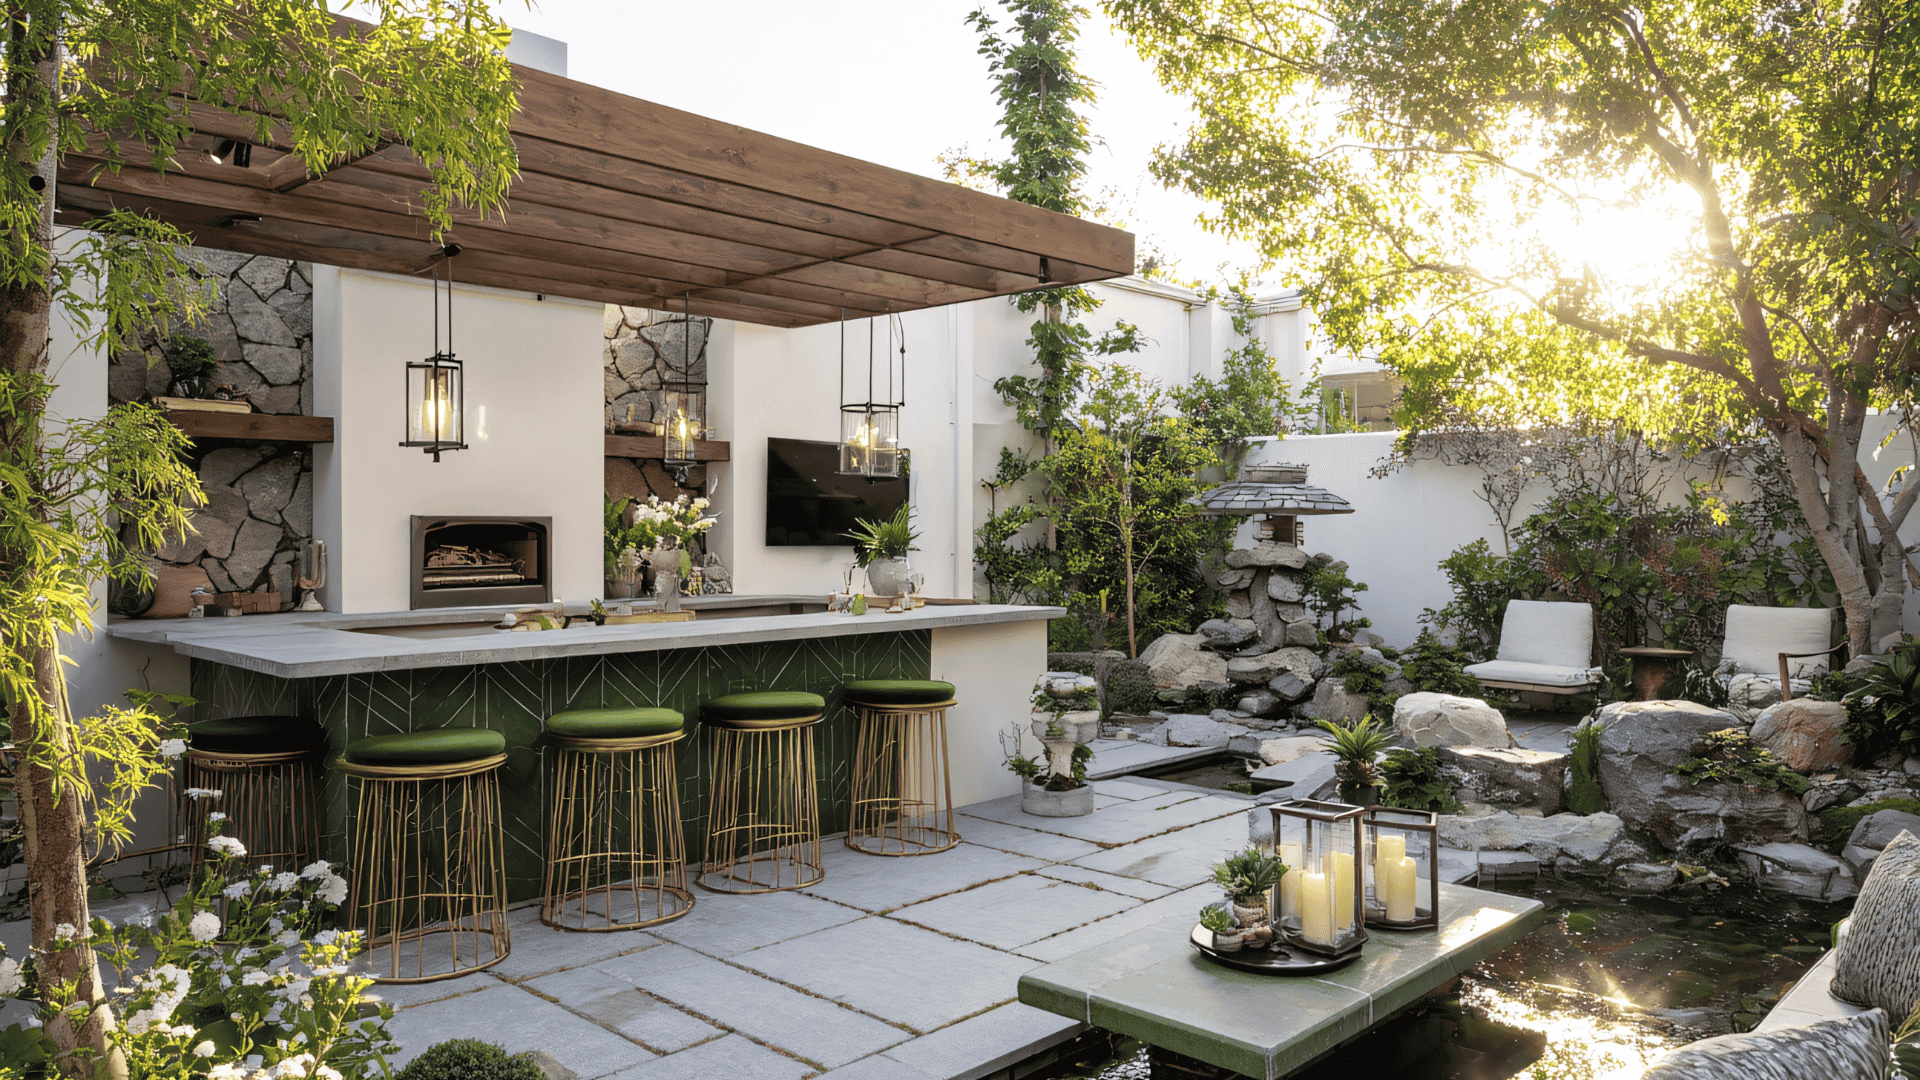
How to Build an Outdoor BBQ Kitchen on a Budget
Step 1: Plan the Layout (Keep It Simple)
Start by choosing a spot with easy access to your indoor kitchen—near a back door is ideal so you can tap into existing lighting and carry food easily. A straight “galley” run or small L-shape offers the best value. Aim to include:
- • Grill zone (your existing propane or charcoal grill)
- • Prep surface (countertop space for trays and chopping)
- • Storage (basic shelves or a tote system)
- • Optional: a small, plug-in fridge (later add-on)
Pro tip: Avoid moving utilities. Gas lines, complex electrical runs, and new plumbing inflate costs fast. A portable propane grill, a GFCI outdoor outlet, and a simple water station (see Step 6) save hundreds.
Step 2: Set a Realistic Budget
Here’s a ballpark for a solid, budget build:
- • Framing lumber or steel studs: $80–$200
- • Cement backer board + exterior screws: $60–$120
- • Exterior cladding (corrugated metal, fiber-cement panels, or reclaimed wood): $120–$350
- • Countertop (butcher block offcuts, large porcelain tile, or concrete): $100–$300
- • Hardware, sealants, paint/stain: $60–$150
- • Shade/lighting add-ons: $40–$120
Target total: $400–$1,200 depending on size and finishes. Reuse what you have to land on the lower end.
Step 3: Choose Wallet-Friendly Materials
- • Frame: Pressure-treated 2x4s for a wood frame, or light-gauge steel studs if you live in a damp climate. Keep the base slightly off the ground on paver blocks to avoid moisture.
- • Skin: Cement backer board as a fire-safe substrate. For the finish, use corrugated metal panels, fiber-cement siding, or reclaimed pallet wood (sealed).
- • Countertop:
- ○ Concrete (cast in place): durable and cheap.
- ○ Large-format porcelain tile on backer board: heat resistant, budget-friendly, looks high-end.
- ○ Sealed butcher block (not next to high heat).
- ○ Concrete (cast in place): durable and cheap.
- • Flooring/footing: Existing patio is perfect. If you’re on dirt, add compacted gravel + pavers for a stable, clean surface.
- • Fasteners & finishes: Exterior-rated screws, construction adhesive, and a quality exterior sealant/wood stain.
Step 4: Build the Base and Frame
- • Level the site. If needed, lay pavers or concrete pads for the cabinet footprint.
- • Assemble the frame. Build simple box modules (e.g., 24″ deep x 36″ high). Leave a 2–3″ clearance around the grill for ventilation and heat.
- • Add a heat shield. Line the interior surfaces near the grill cutout with cement backer board; use metal flashing if your grill sits tight to a wall.
- • Sheath with backer board. Screw every 8″ and tape seams with alkali-resistant mesh.
Safety check: Keep combustibles (raw wood, fabric, plastics) well away from the grill’s hot zones. Follow your grill’s manual for minimum clearances.
Step 5: Clad and Finish the Exterior
- • Attach your chosen cladding to the backer board. Vertical corrugated metal is quick, modern, and rain-shedding.
- • For a warmer look, install stained, reclaimed boards horizontally. Back them with a thin ventilated gap to help them dry out after rain.
- • Add simple open shelves inside the frame for storage—plywood sealed with exterior polyurethane works fine.
Step 6: Add a Budget “Water Station”
Full plumbing is pricey, so try a gravity or portable sink:
- • A stainless prep table top with a drop-in bar sink,
- • A 5-gallon potable water jug feeding the faucet,
- • A matching “grey water” jug under the drain.
It’s campsite-simple, legal in most areas for temporary setups, and keeps costs low. Empty the grey water in accordance with local rules.
Step 7: Countertops on the Cheap (Three Options)
Concrete (cast-in-place):
- • Build a 1.5″ form with melamine or sealed plywood.
- • Reinforce with rebar mesh or fiberglass fibers.
- • Trowel, cure, sand smooth, and seal with food-safe concrete sealer.
Large-Format Porcelain Tile:
- • Glue and screw backer board to the top, thinset the tile, and use an outdoor-rated grout.
- • Add metal edge trim for a clean finish.
Butcher Block (selective use):
- • Great for a prep zone away from direct heat.
- • Seal thoroughly (mineral oil for food-contact, spar urethane for weather edges).
Step 8: Storage & Organization
- • Install pull-out crates or heavy-duty plastic totes (rainproof) for utensils, charcoal, and spices.
- • Add magnetic tool bars for tongs and spatulas.
- • Mount a paper towel holder and a simple rail with S-hooks for potholders and brushes.
Step 9: Shade, Lighting, and Power
- • A shade sail or market umbrella keeps the grillmaster comfy and protects surfaces.
- • Add string lights or a clamp-on LED work light for night grilling.
- • If you need power, use an outdoor-rated GFCI outlet on a dedicated extension or existing exterior outlet; keep cords away from heat.
Step 10: Seal, Protect, and Maintain
- • Seal wood and concrete annually.
- • Cover the grill and countertops when not in use.
- • Keep a small fire extinguisher nearby (Class B/C) and a metal tray for hot coals/ash.
Final Thoughts
A budget BBQ kitchen is all about smart trade-offs: keep the layout simple, reuse materials, and focus on weather-proofing and ventilation. Build the essentials now, then upgrade in phases as your time and budget allow. In a couple of weekends, you’ll be flipping burgers in a space that looks custom—without the custom price.
Shikha Negi is a Content Writer at ztudium with expertise in writing and proofreading content. Having created more than 500 articles encompassing a diverse range of educational topics, from breaking news to in-depth analysis and long-form content, Shikha has a deep understanding of emerging trends in business, technology (including AI, blockchain, and the metaverse), and societal shifts, As the author at Sarvgyan News, Shikha has demonstrated expertise in crafting engaging and informative content tailored for various audiences, including students, educators, and professionals.